Getting Started with MuJoCo - Part 2
Hi ! Welcome to my Blog on MuJoCo. The Aim of this blog is to get people on-board MuJoCo in the least time possible. I am a Sophomore at a University, my Programming experience has been developed by looking at multiple example and reading code, but when it came to MuJoCo, the Documentation was very thorough yet i felt like i was lacking the basic skills to understand a lot of them initially and was very intimitated when i first came across it. So I set myself a goal to write MuJoCo blogs which would help people who love explanations through examples. But do remember , the blog is supposed to set a starting point and break the ice for people who do not have any major first hand experiences in robotic modelling , i refer the XML Reference all the time and once you get familiar and comfortable with the basic , do use the documentation to make sure you are exploiting all the features of MuJoCo.
In this post , Let us cover the Following :
- Playing with the MuJoCo Simulator
- Hello mujoco-py
If you have not seen my Part 1 of the post , Do look at it for the basics.
Playing with the MuJoCo Simulator
Running the Simulator
We saw about the installation of mujoco and mujoco-py in the last blog , keeping in mind the same install location , let us run the Simulator with the inbuilt Humanoid Model.
# cd to the mujoco directory
$ cd ~/.mujoco/mujoco200/bin
# Simulate the Humanoid Model example
$ ./simulate ../model/humanoid.xml
For Help - Toggle F1 Key
Now we have the simulator window opened up , Let us now see some basic actions that we can perform.
Basics
Change Theme , Size and UI Layout
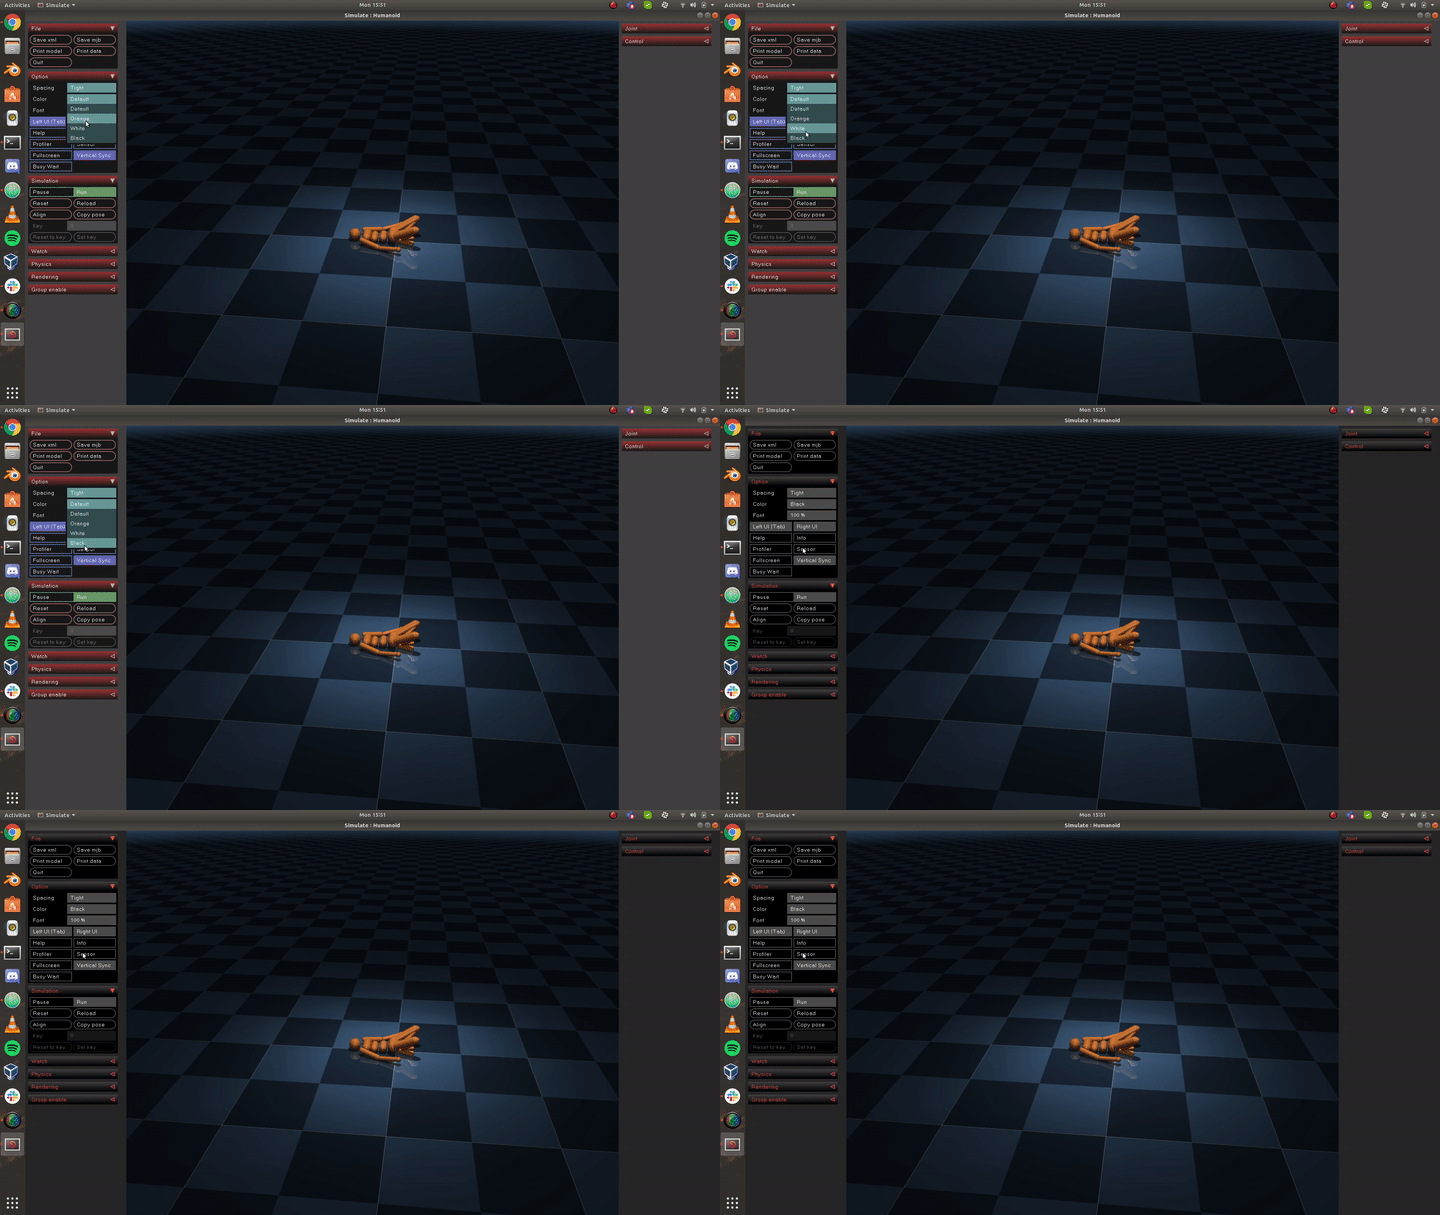
In the Left Side of the windows , We have the UI tab , where we have a lot of options to control the looks of the simulations window such as Spacing, Control , Font Here is an Example to Change the Theme of the Window.
Pan , Rotate and Zoom
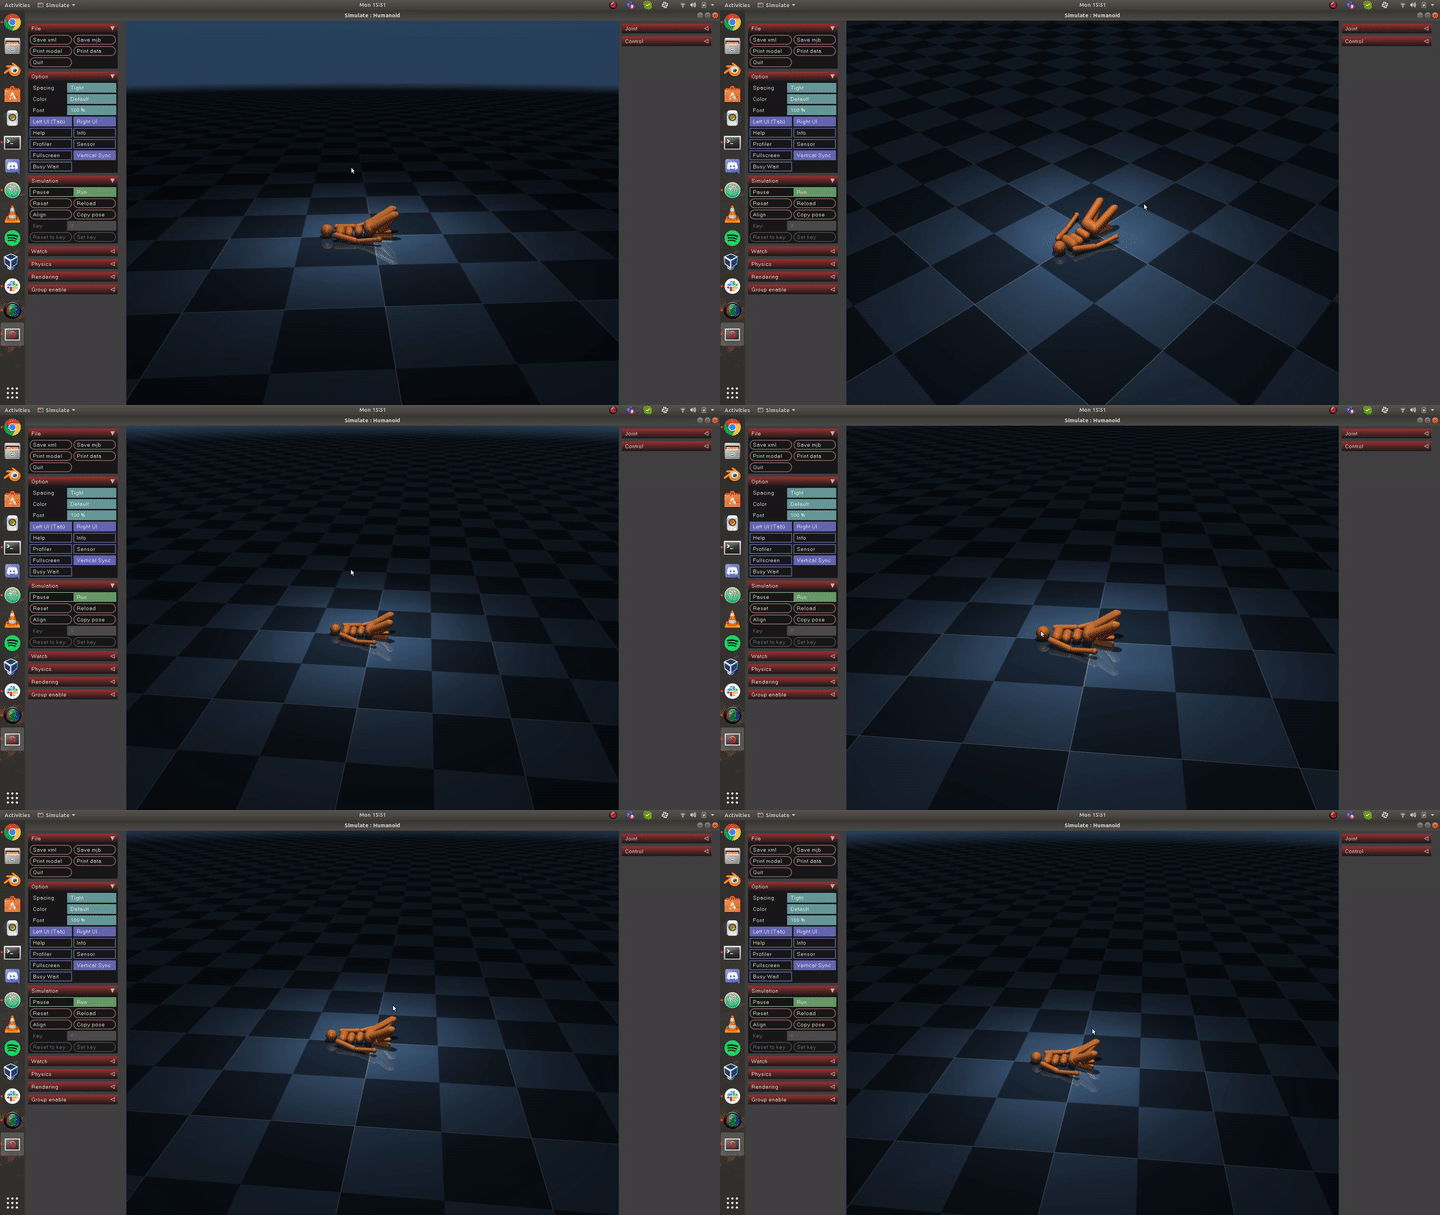
These are the Following mouse functions :
- Left Click and move your mouse to Rotate.
- Middle Click and Moving your mouse Zooms in and out
- Right Click and mouse to PAN
Joint and Control
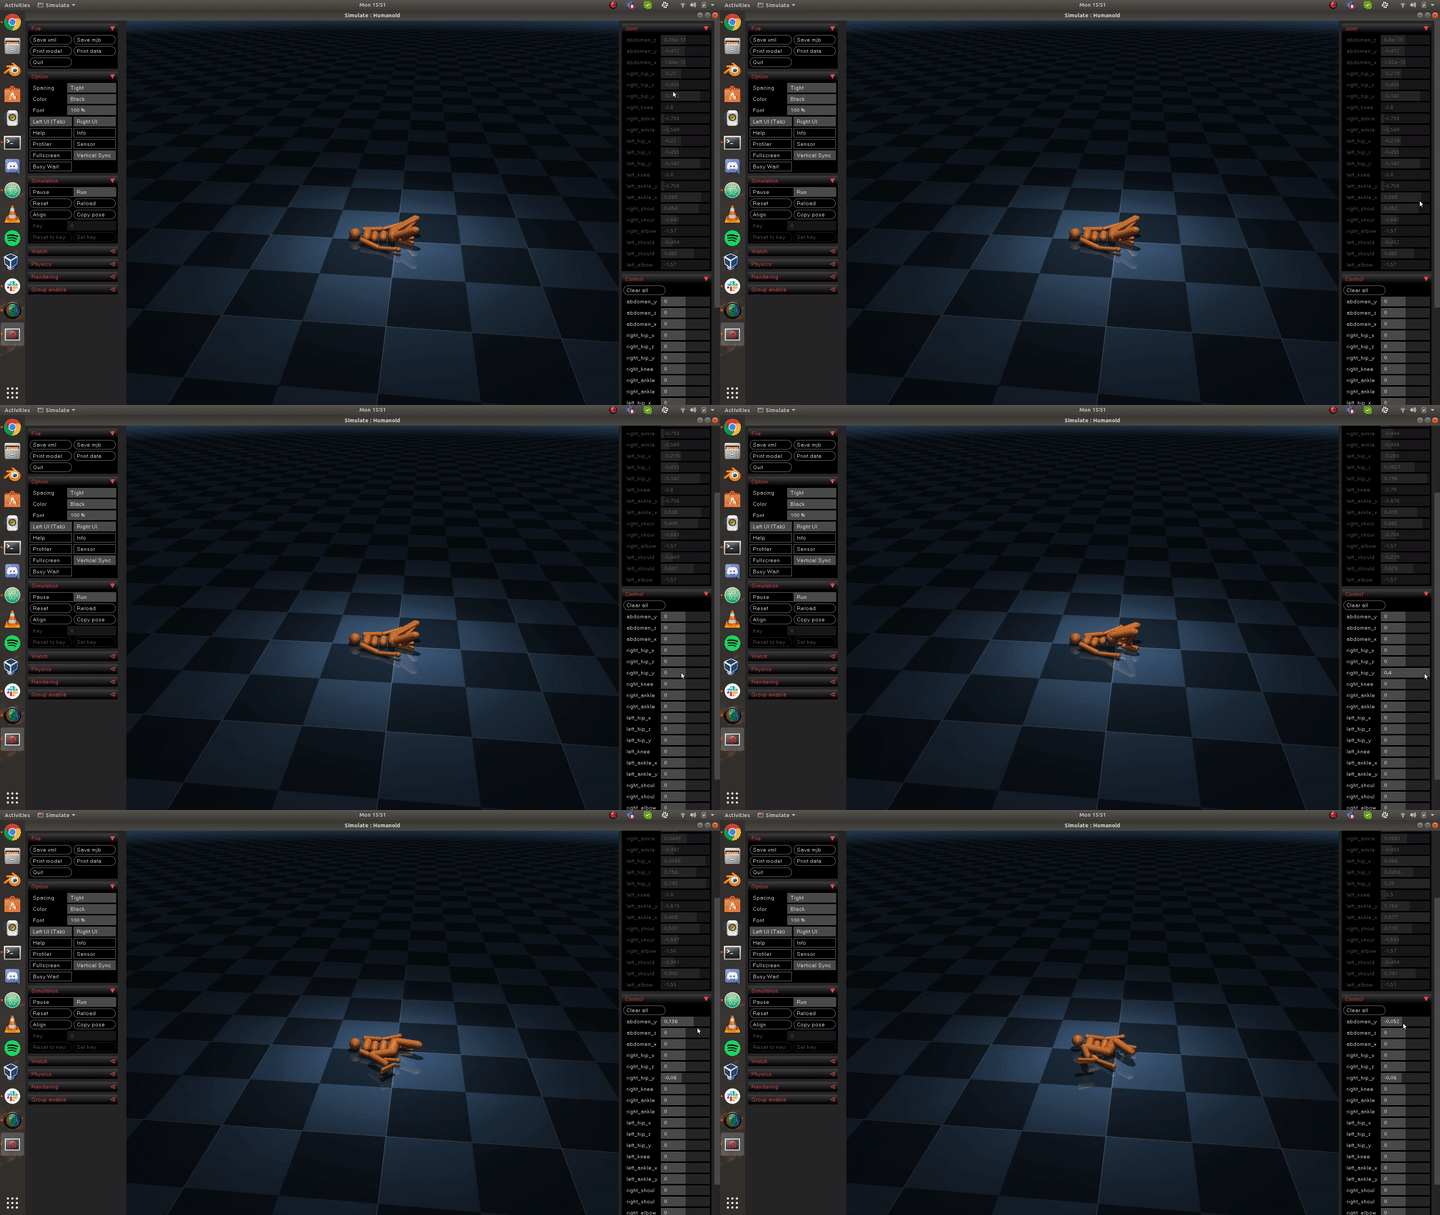
We can define sensors and actuators in our models, we will see how to do that in the upcoming blog , but to control and see the output values , you can look at the Right UI which has the Joint and Control Tab.
Force and Torue
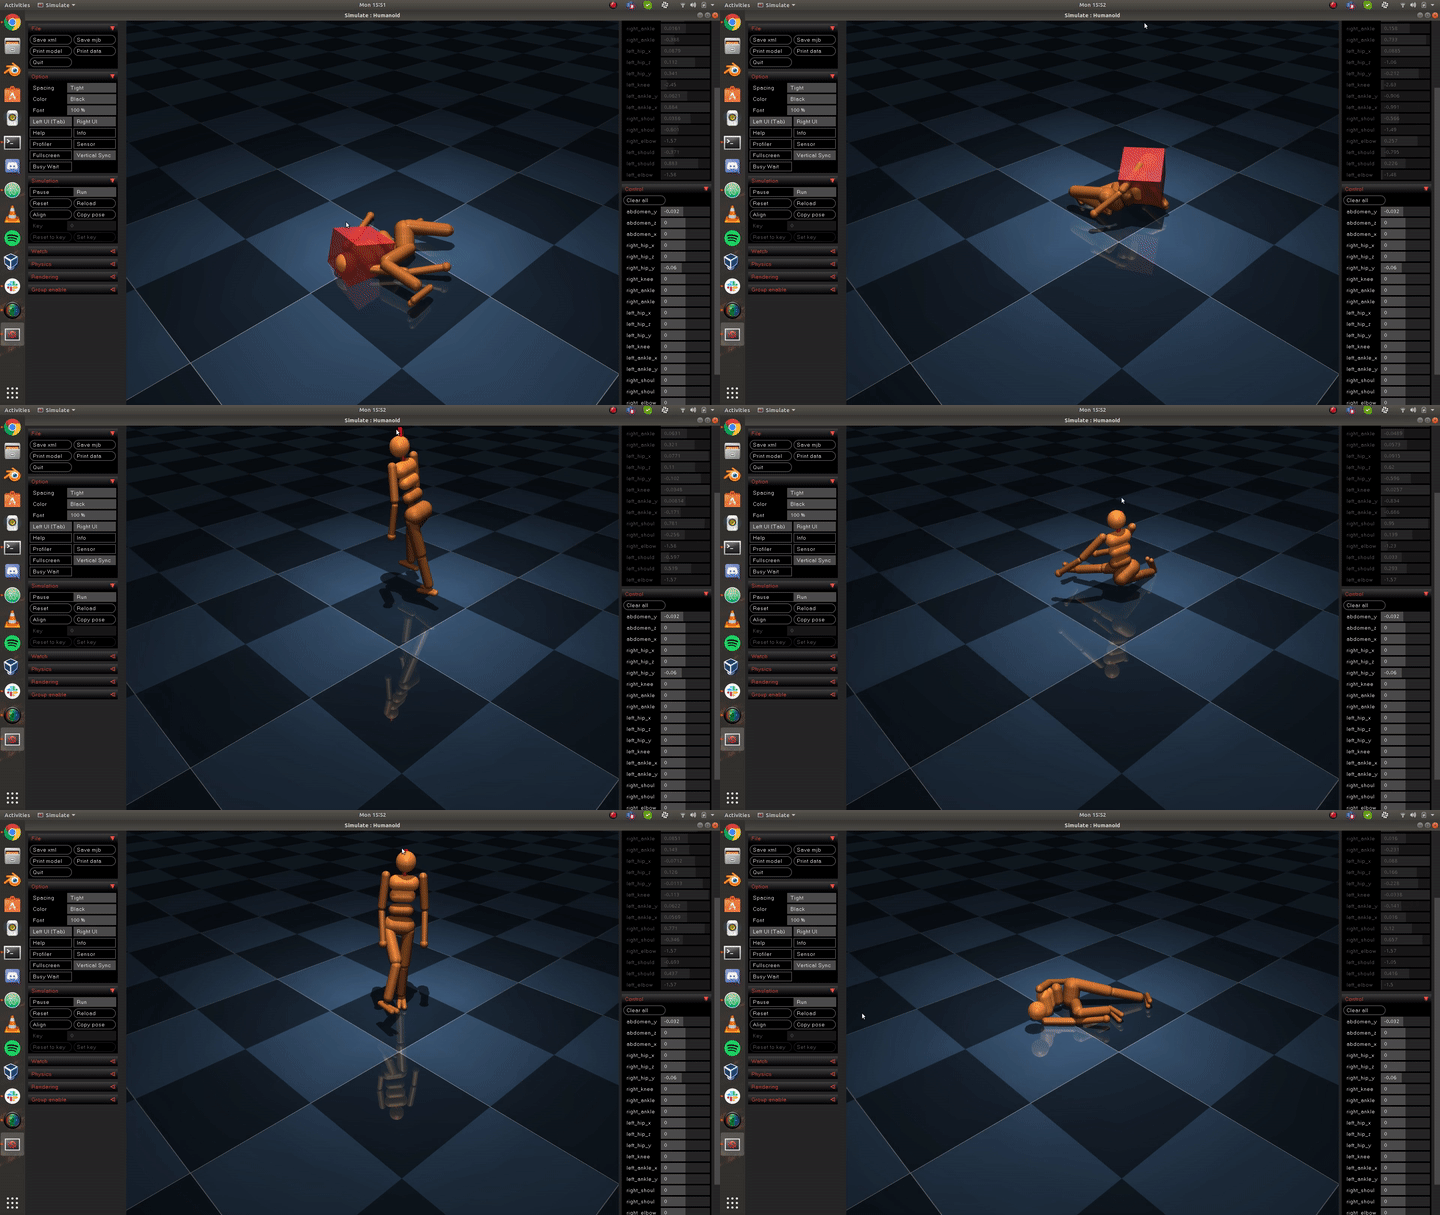
You can Apply force and Torque to the bodies in the model , to do so , you will have to :
- Select the Body where you want to apply force or Torque
Double Click, the body gets highlighted - Press
Crtl + Left Clickand Move your mouse to Apply Torque - PRess
Crtl + Right Clickand Move your mouse to Apply Force to the Body
Labelling
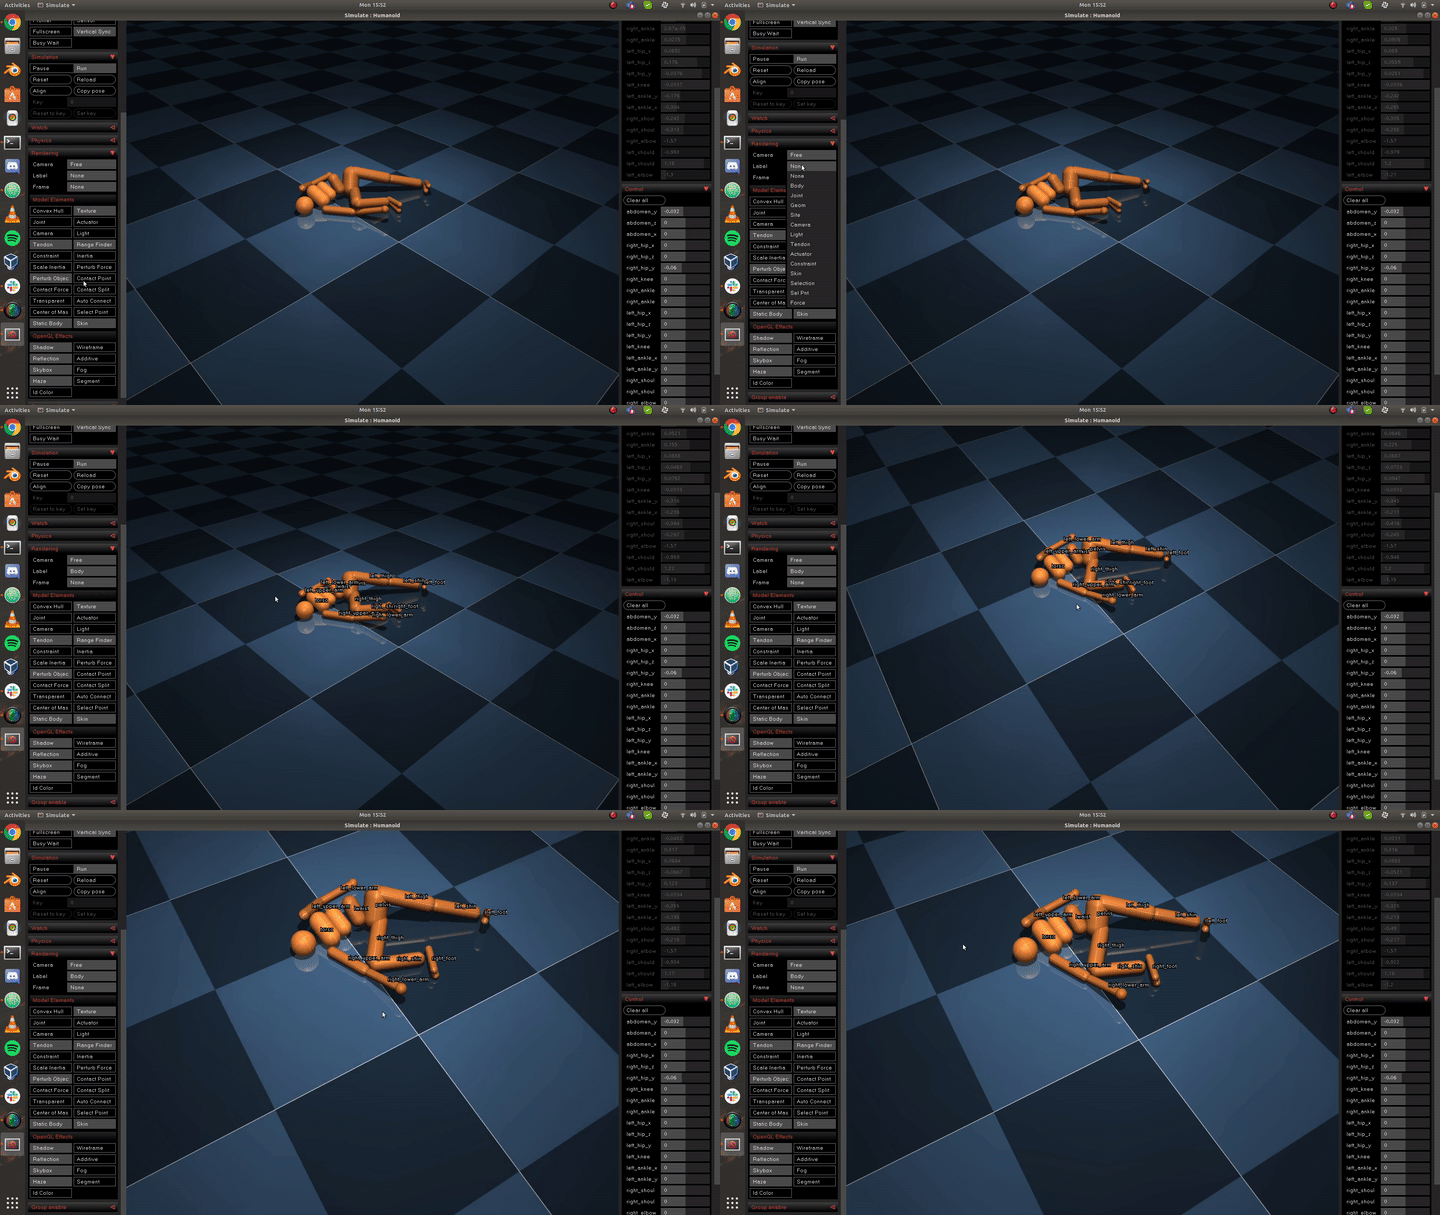
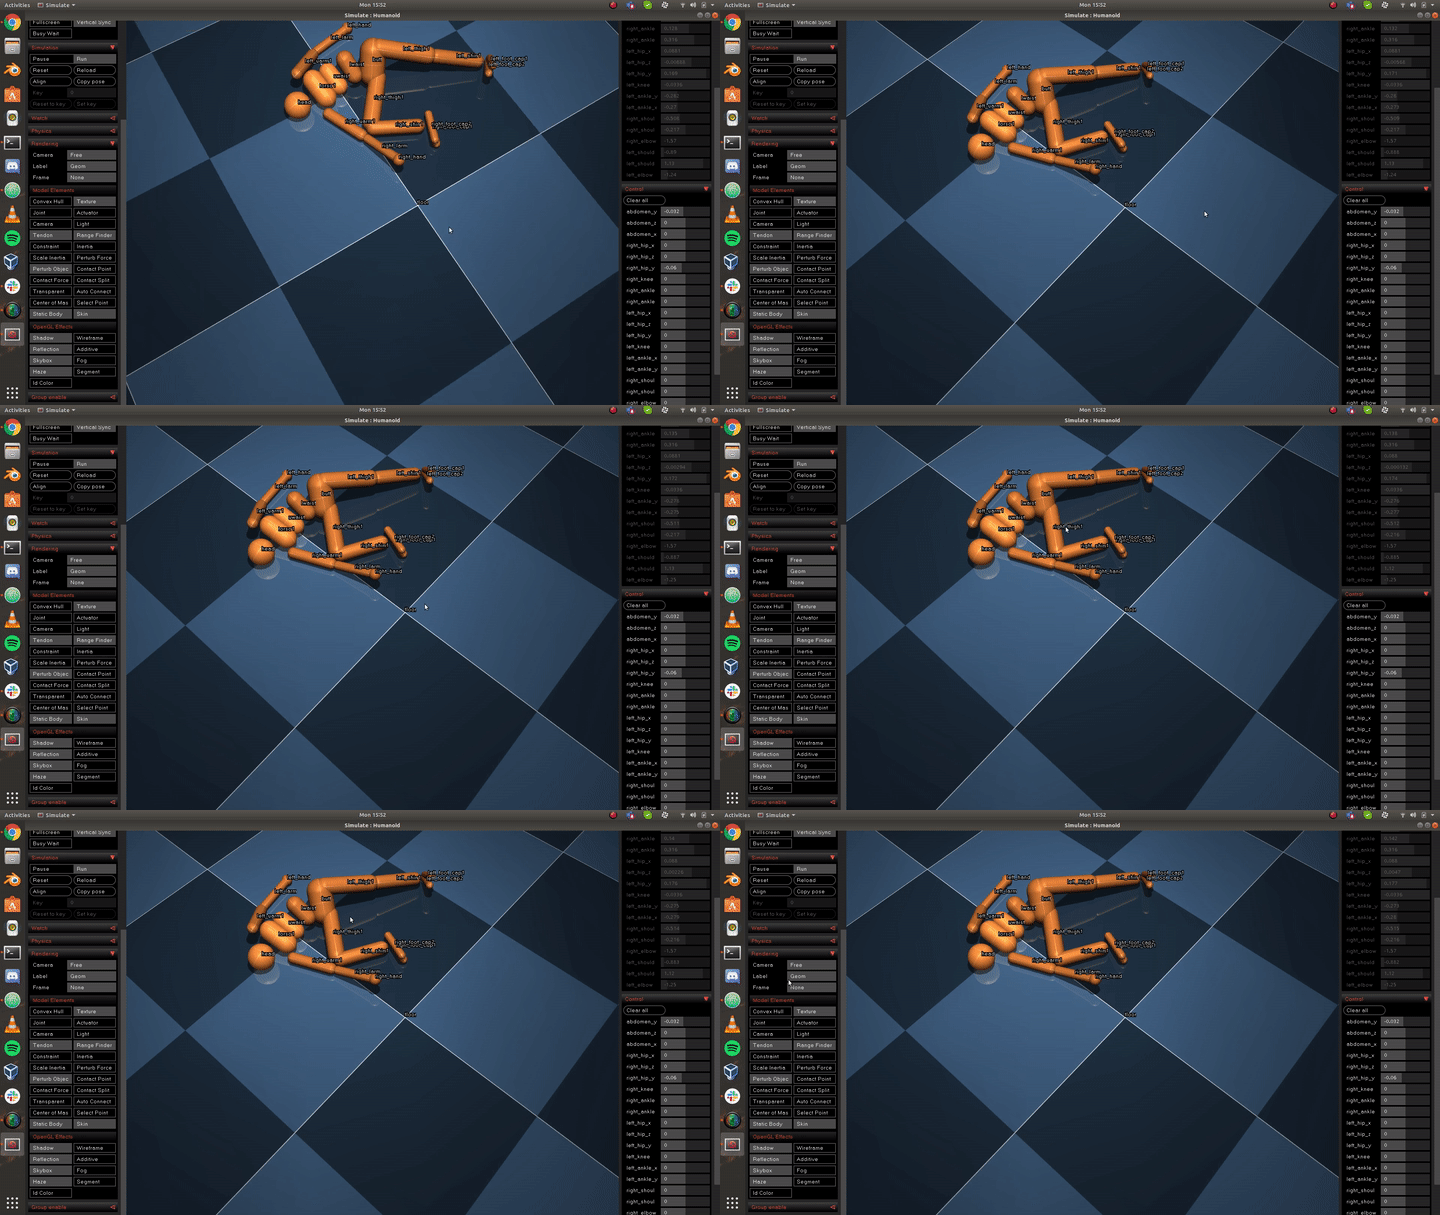
We can Label bodies and geometry in our XML file so that we can keep track of them especially for complex models.
To view labels , you can go under the Rendering Tab in the Left UI and scroll through the Label options to select whichever you want.
**Labelling - Body **
**Labelling - Geometry **
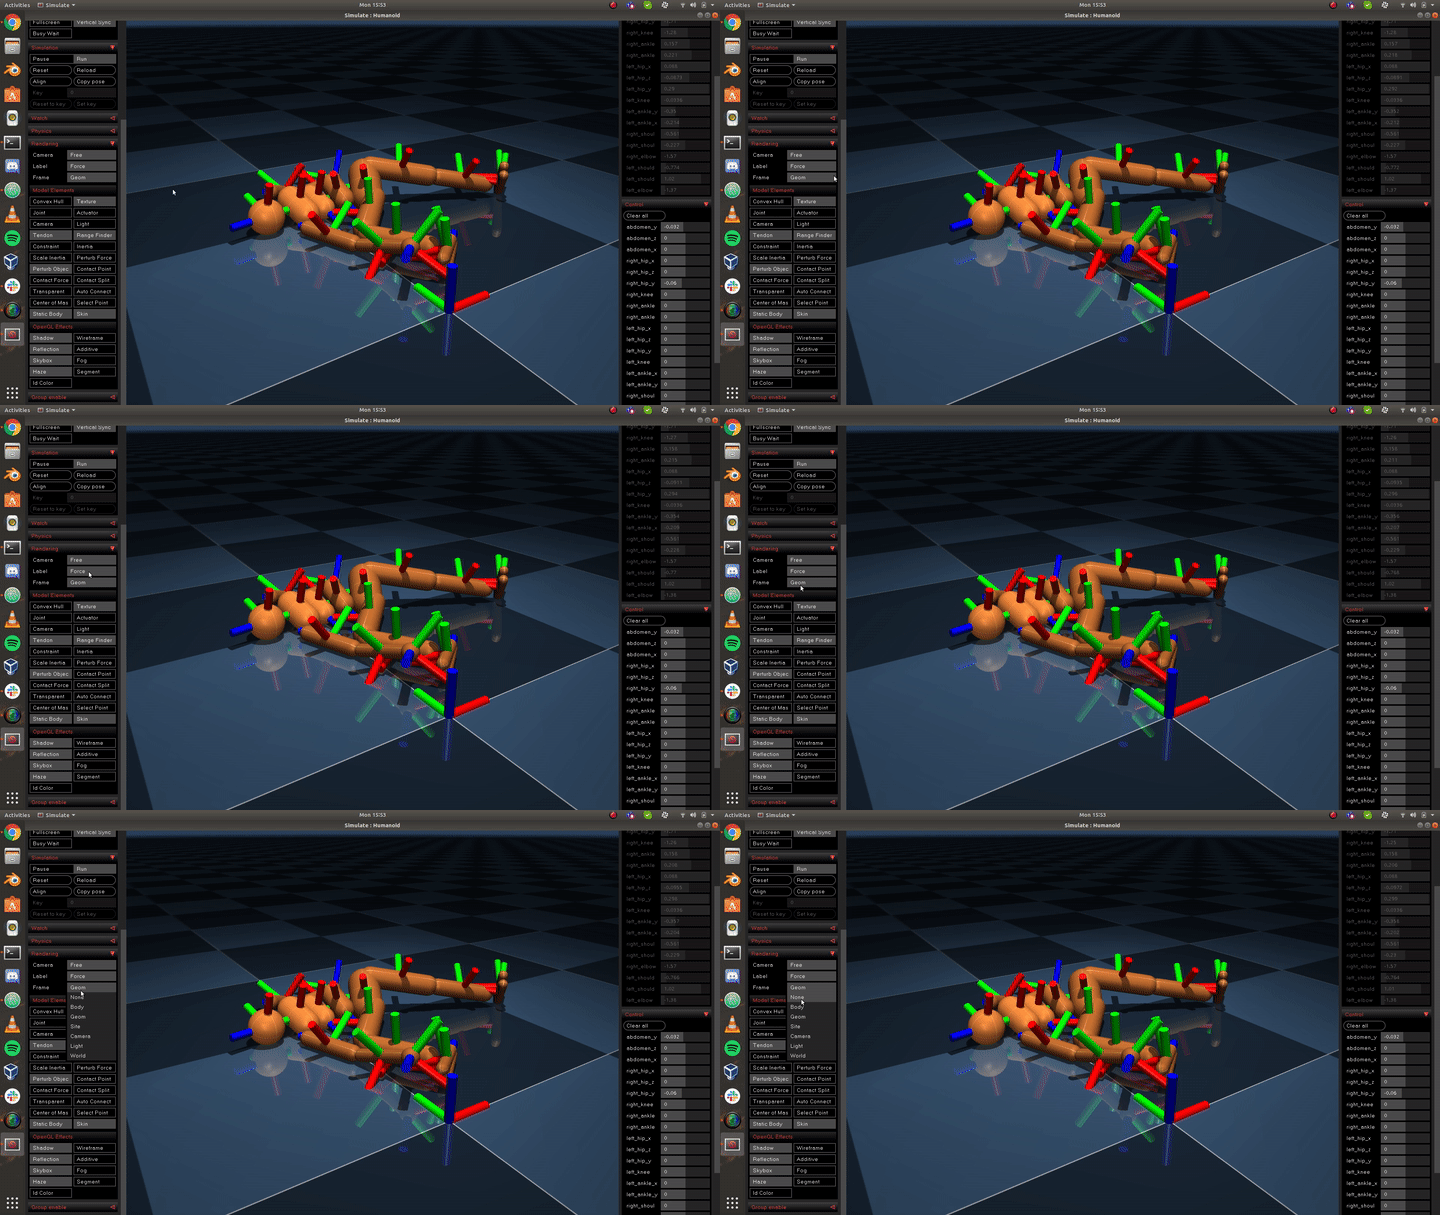
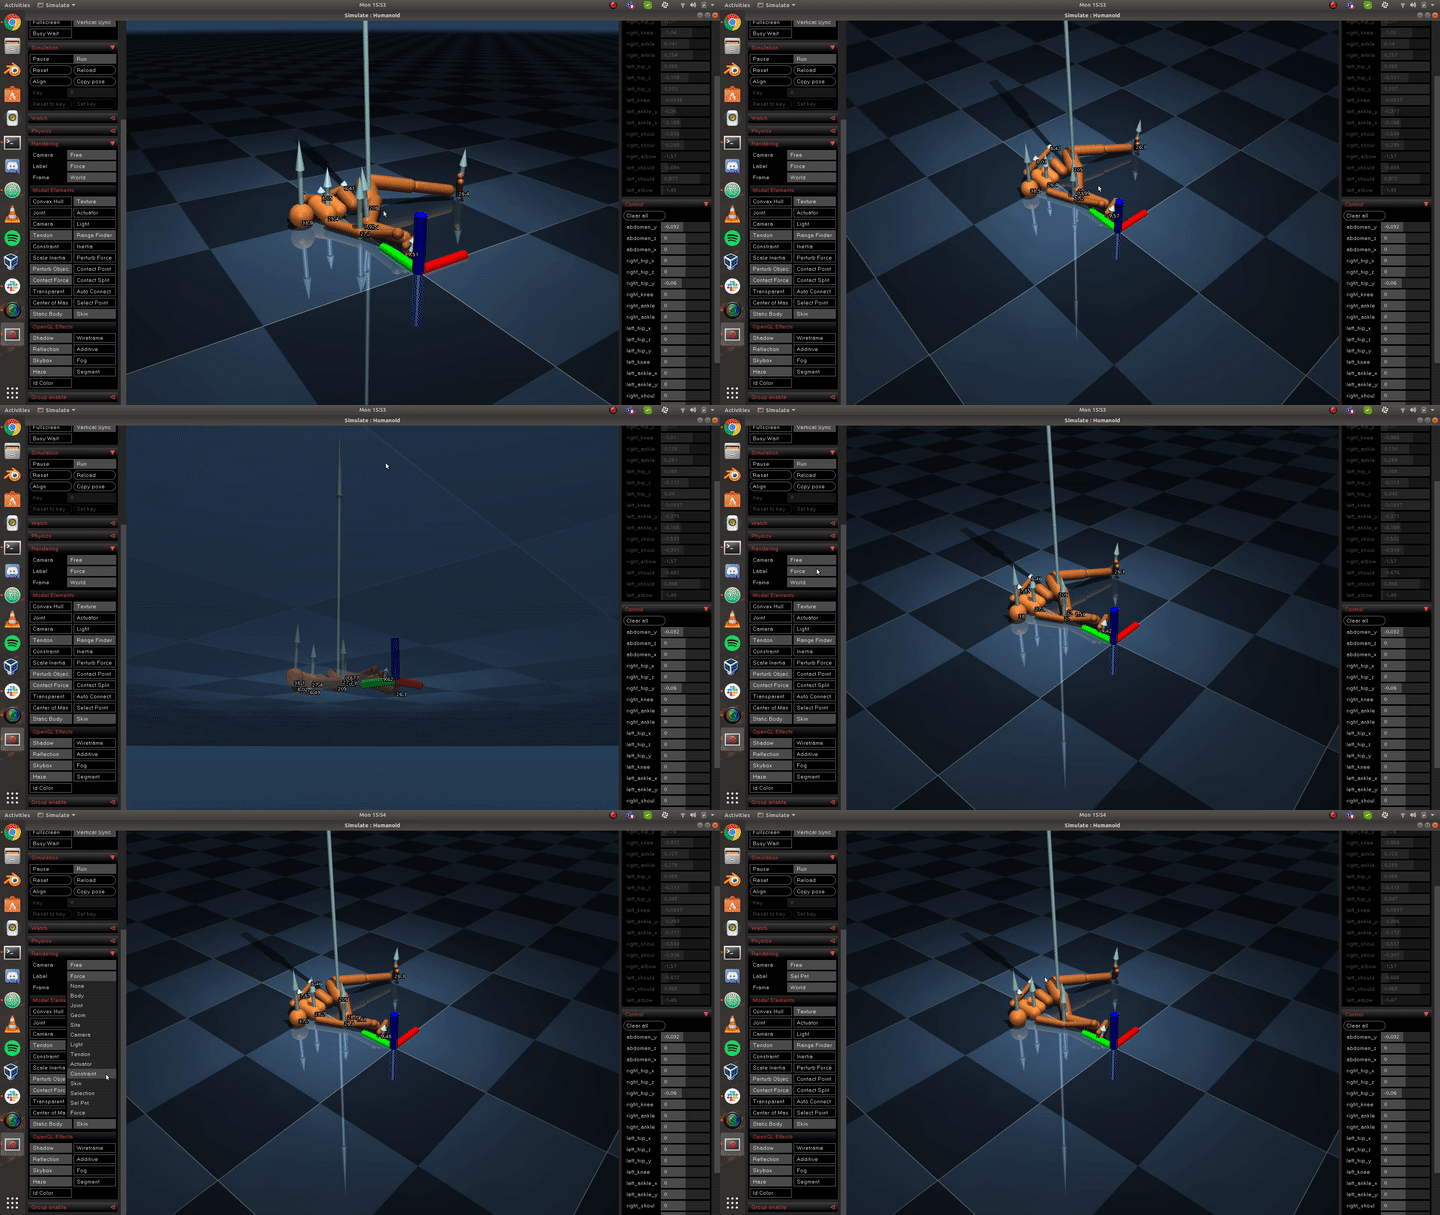
Frame
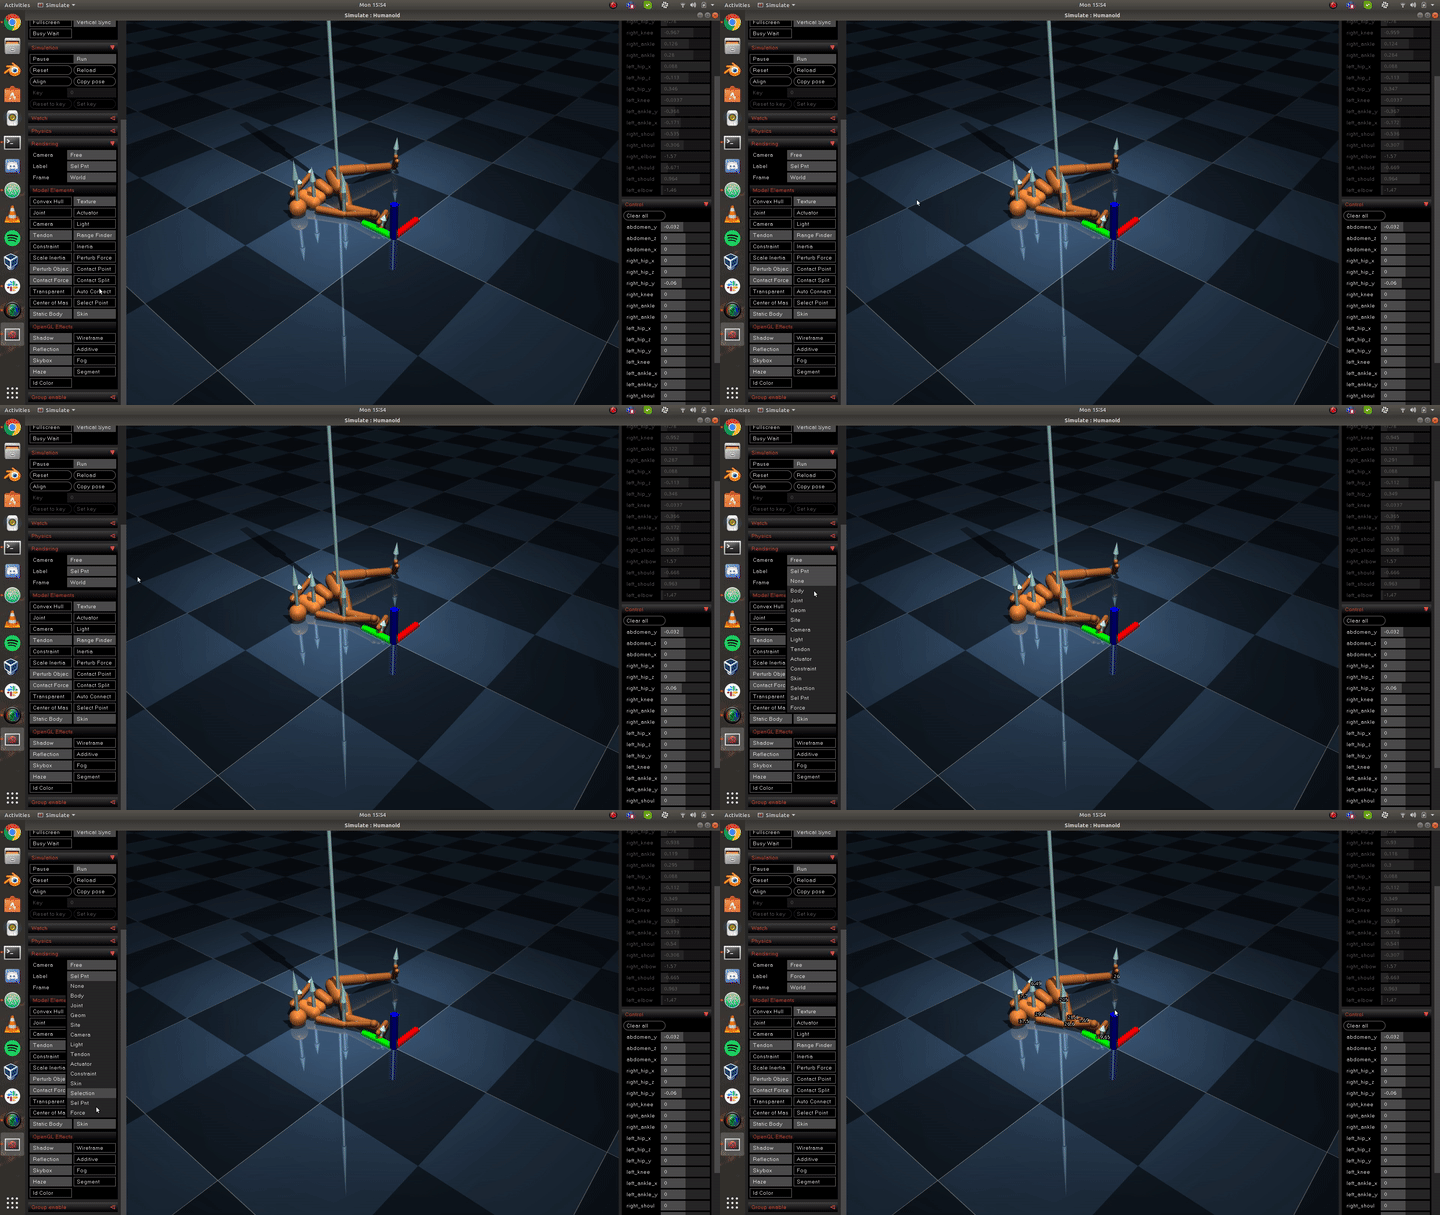
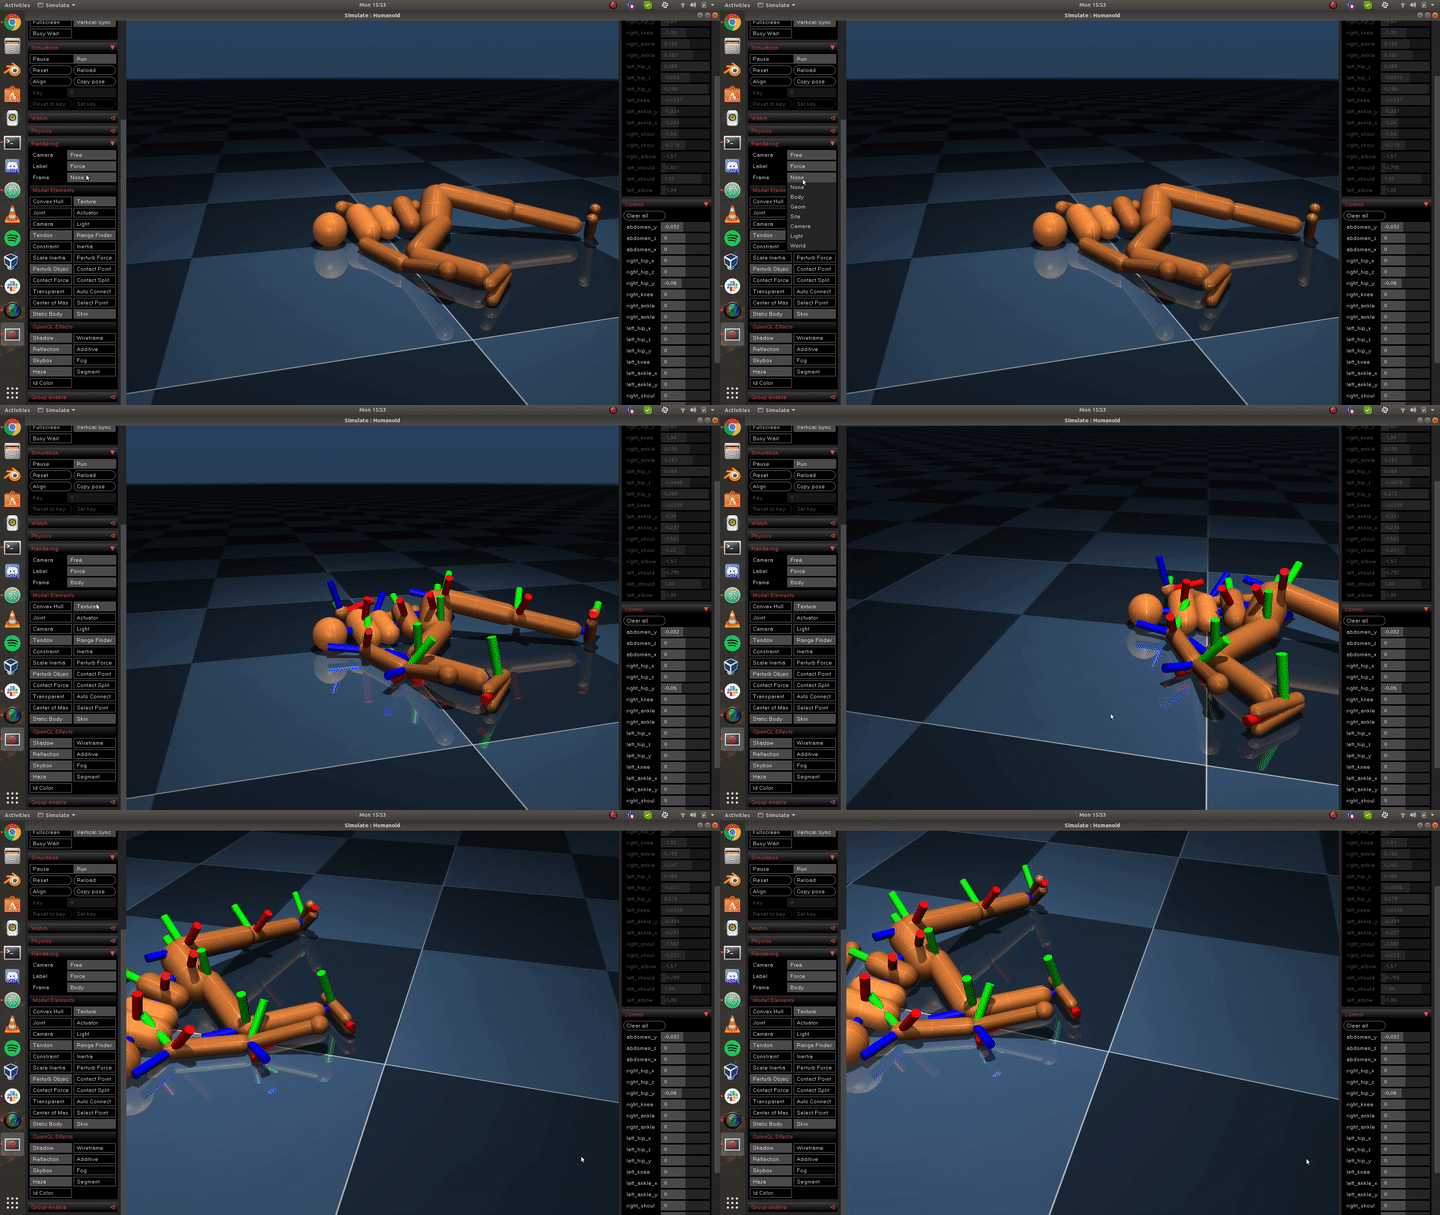
We can take a Look at the Frame Axis of Bodies , Geometries, Sites etc…
It can be found next to the Label Options.
Frame - Worldbody
Frame - Body
Frame - Geometry
Model Elements
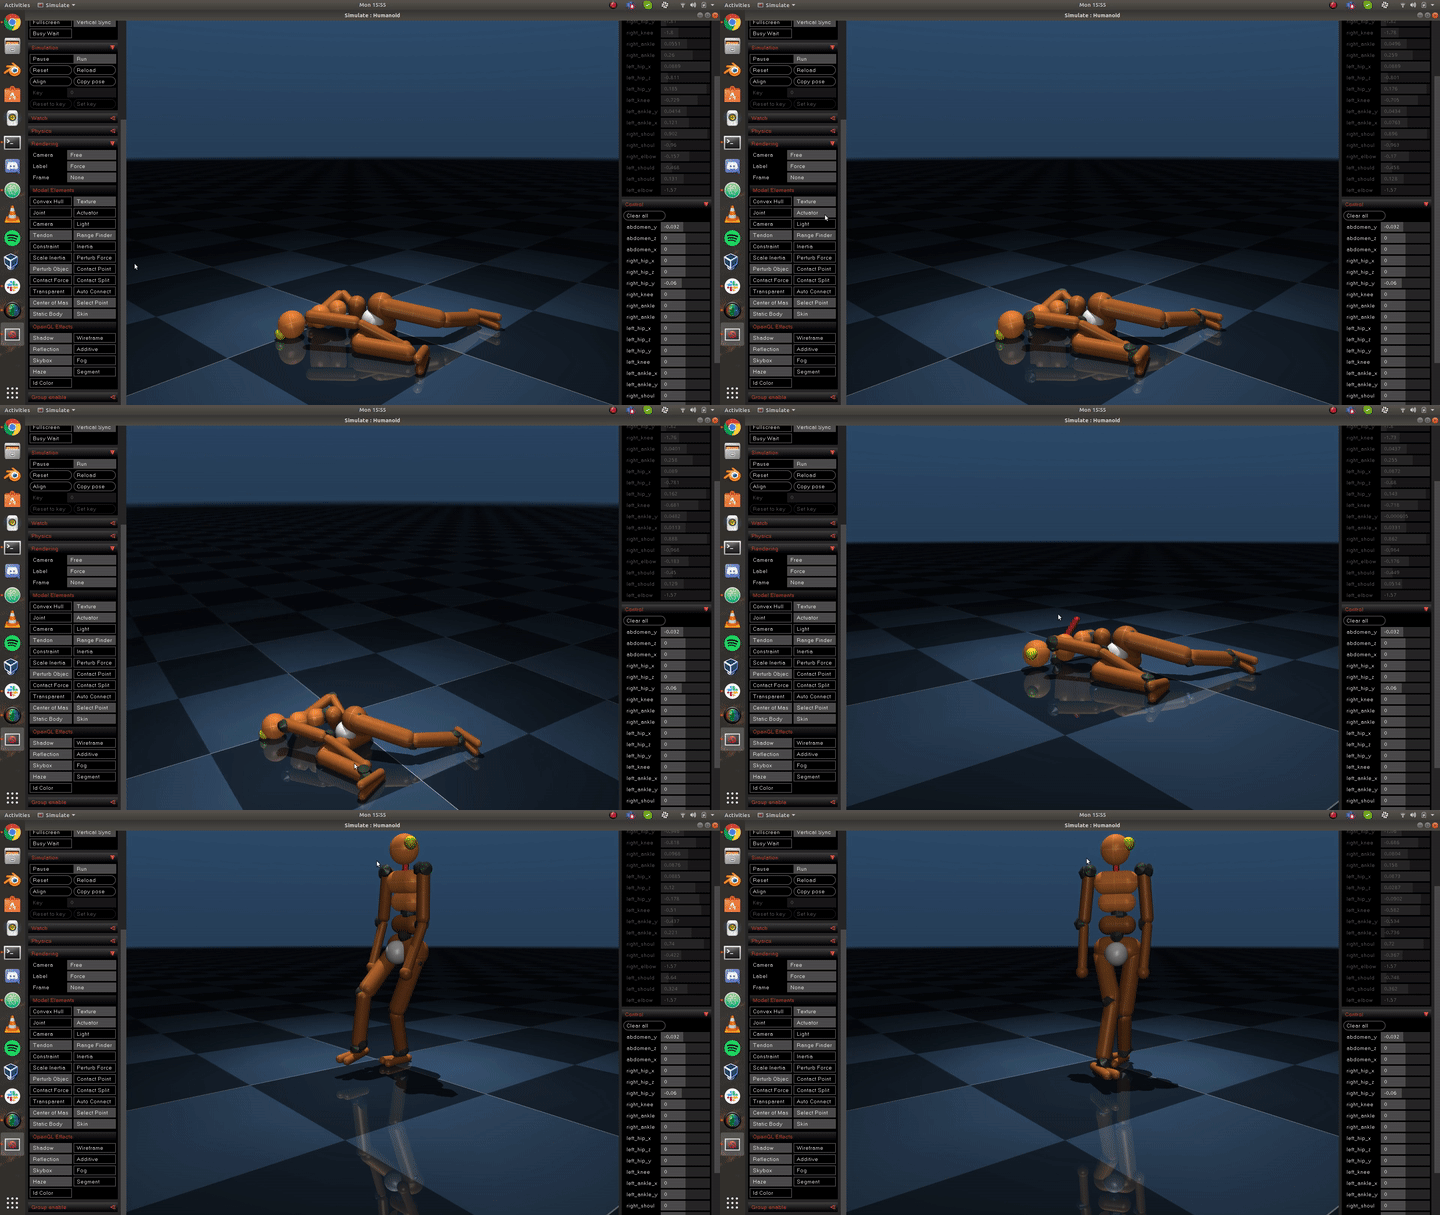
Under the Rendering Tab , We also have other options to play with , Some of are display of Center of Mass , Display of Contact points , Contact Forces etc…
You can toggle them to turn the features on and off.
Model - Display Center of mass
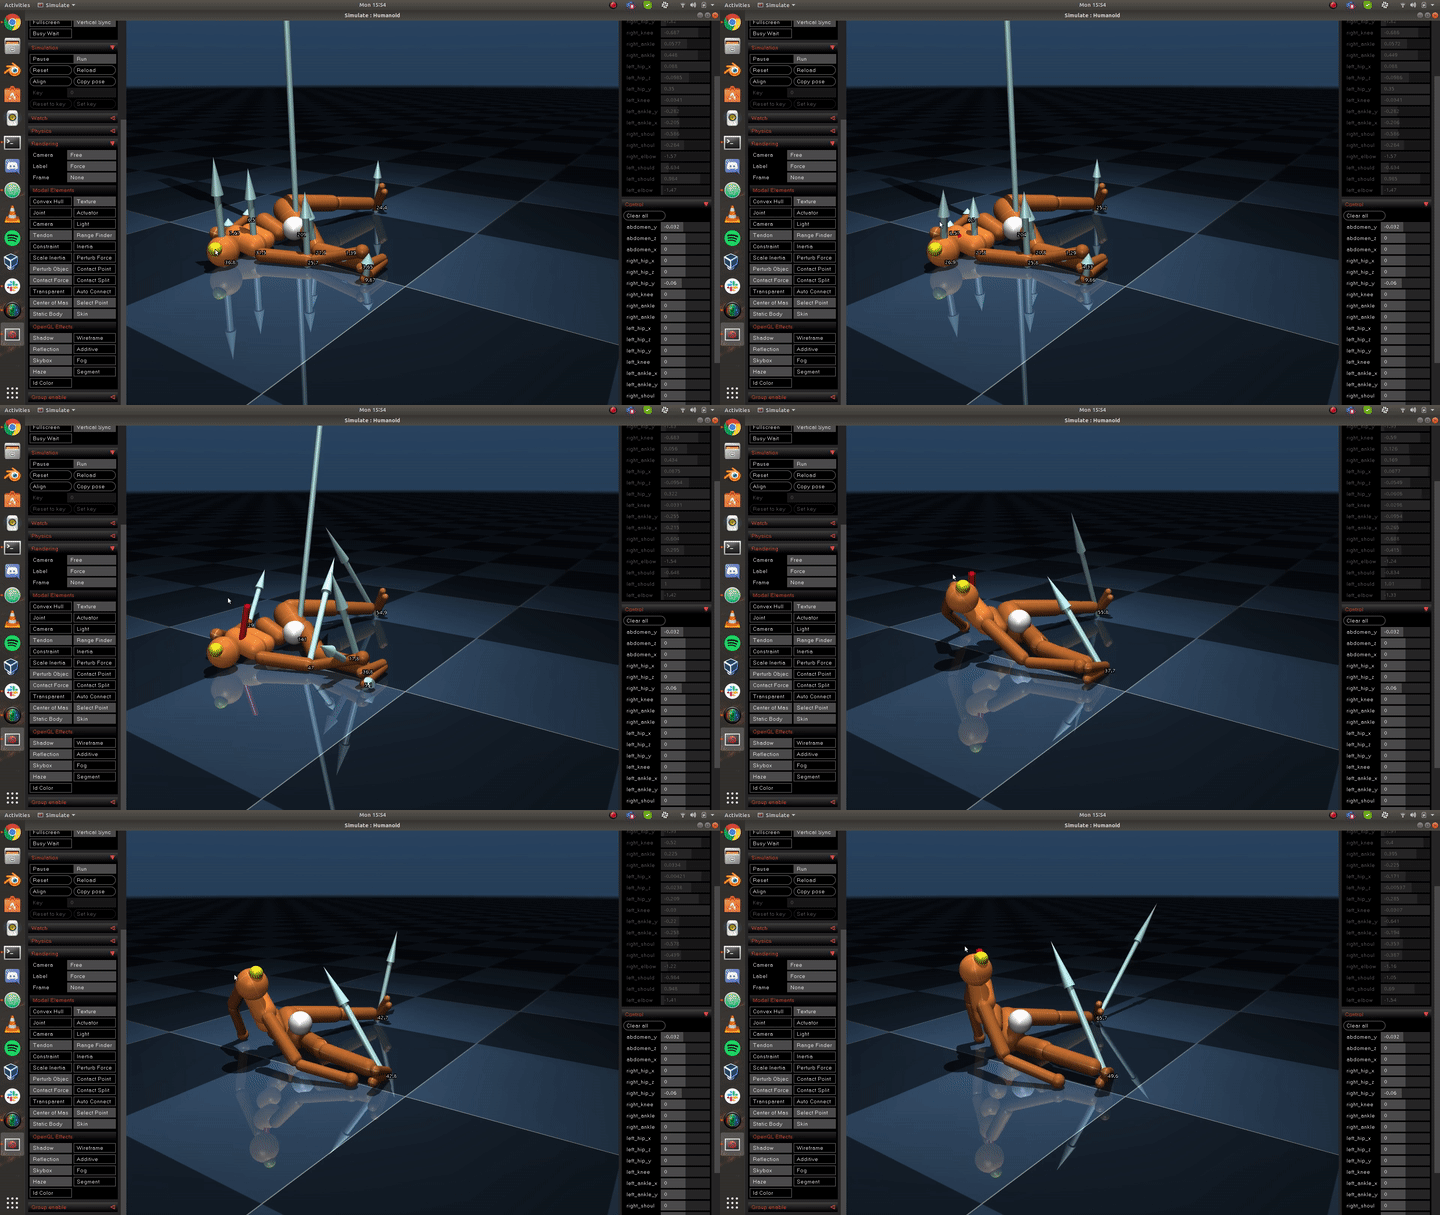
Model - Contact Force
Model - Display Actuators
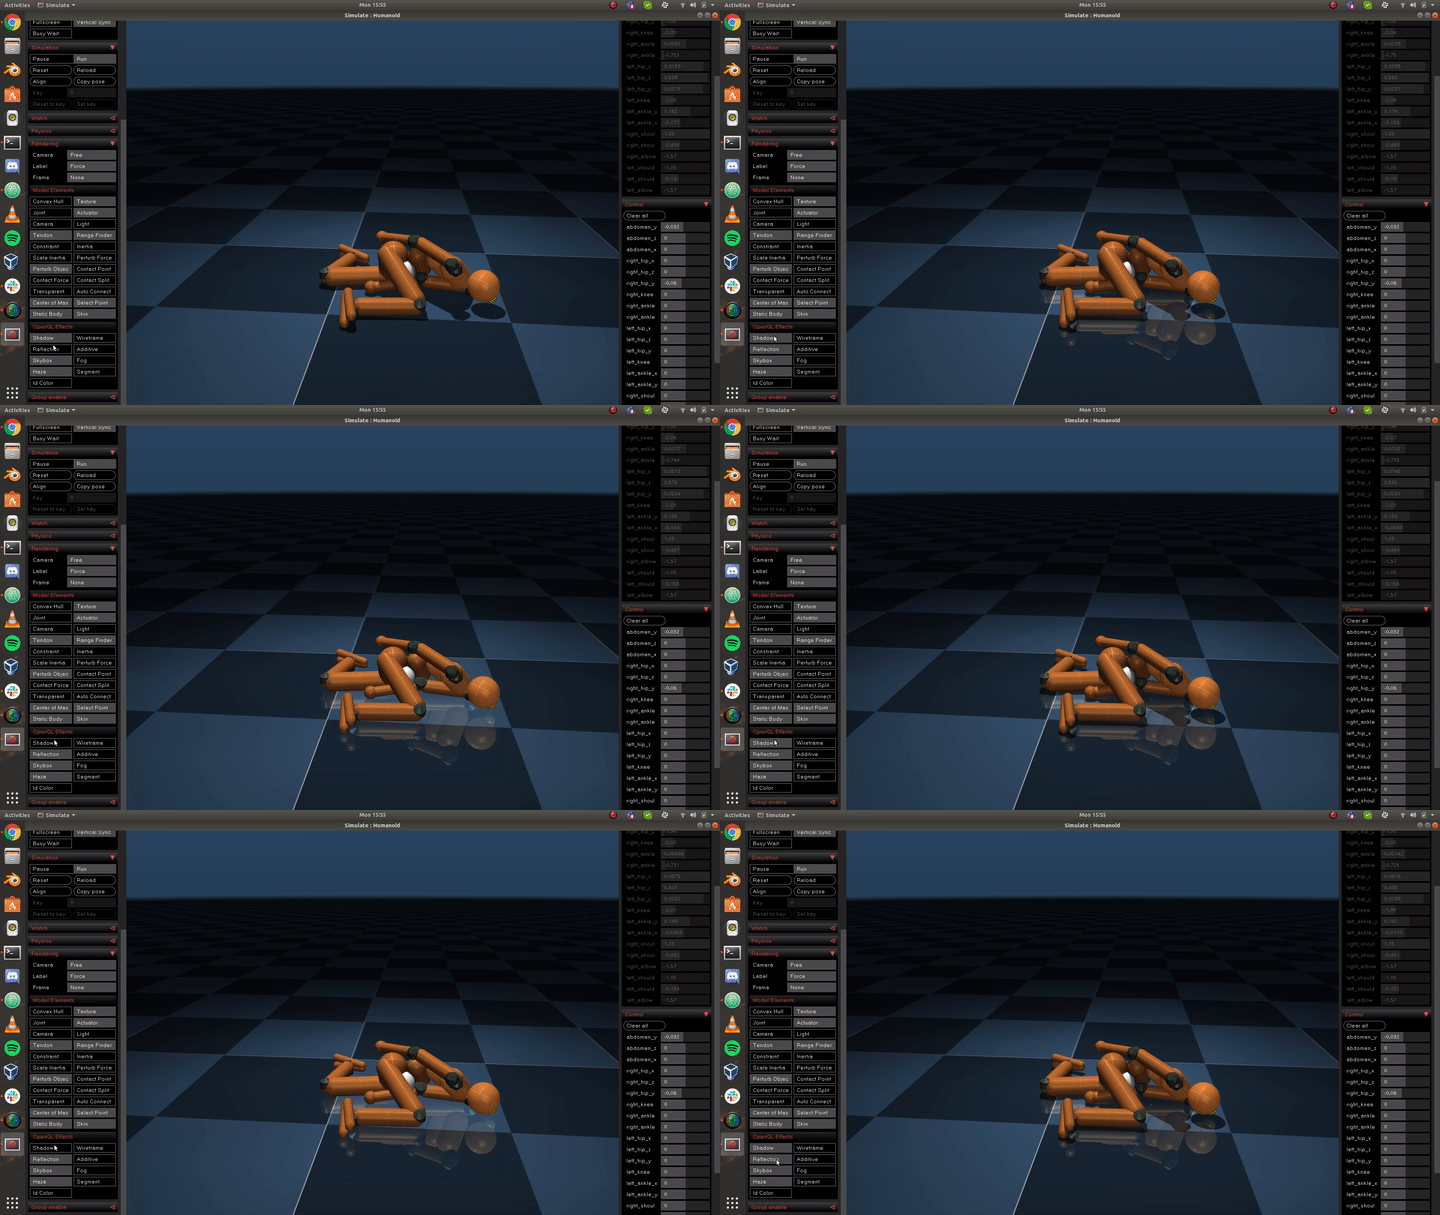
OpenGL Effects
This has nothing to do with the model and this provides some cool OpenGL Features , These Features are also placed under Rendering Tab.
OpenGL - Wireframe Mode
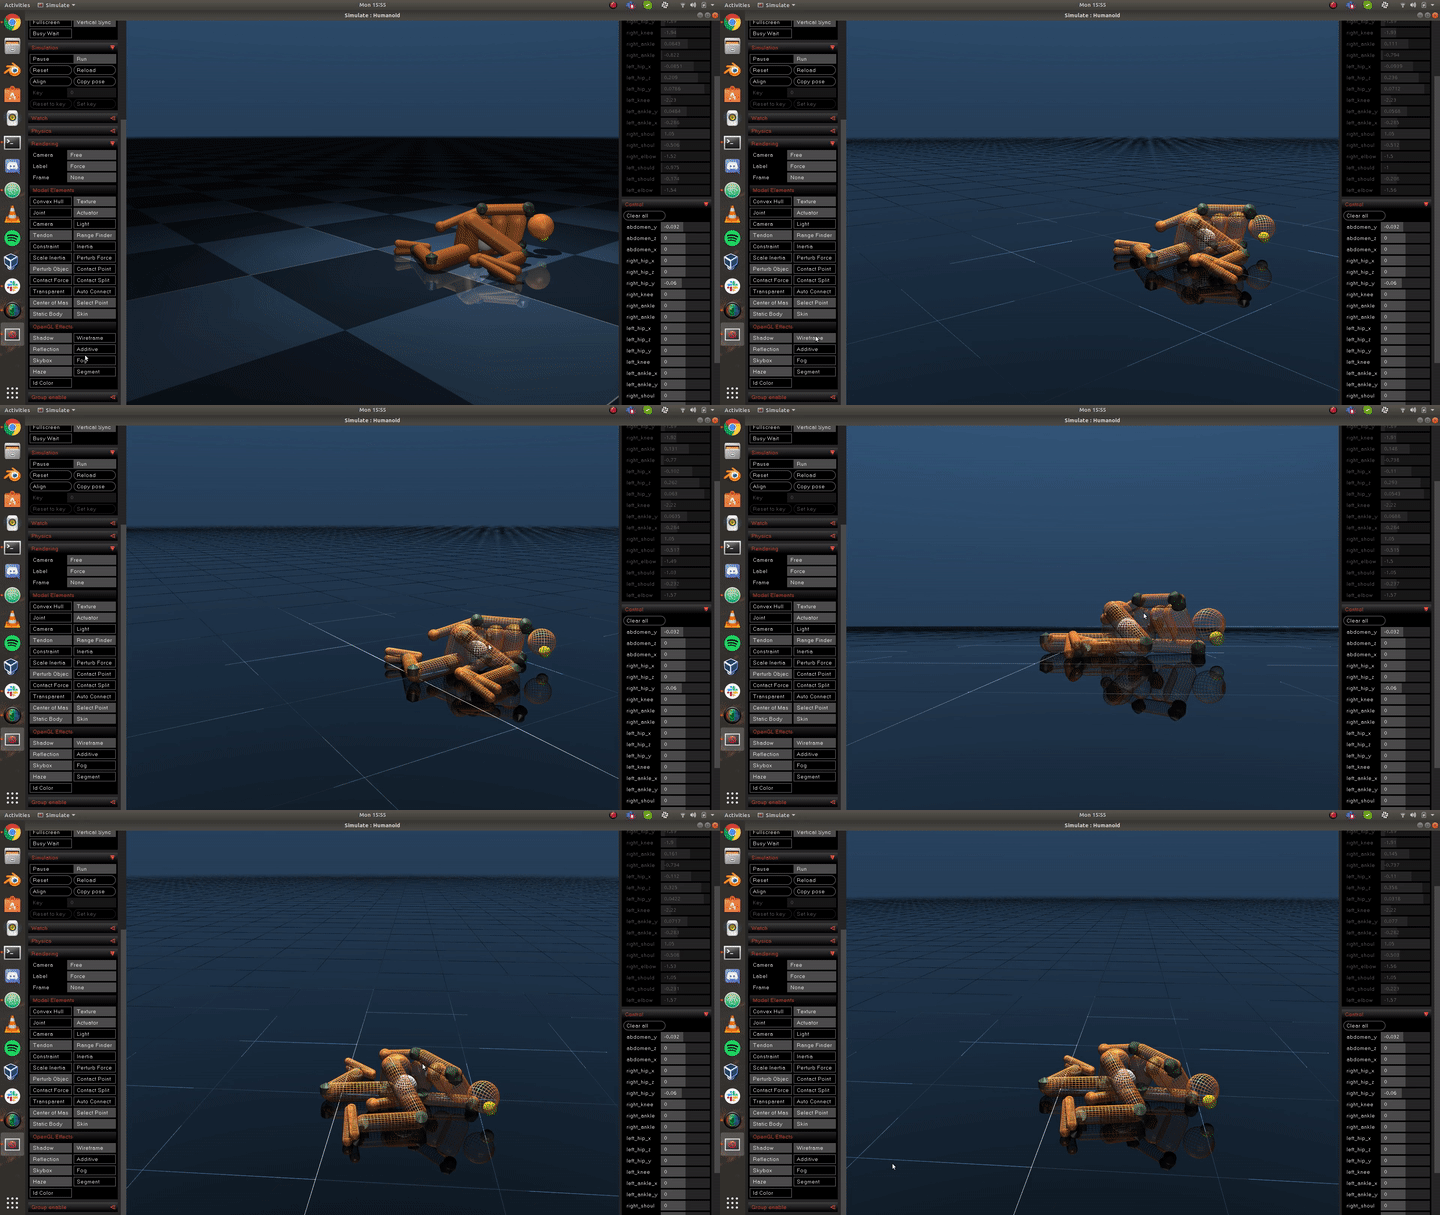
OpenGL - Reflections and Shadows
Hello mujoco-py
Let us now , write the Hello world of mujoco-py , the installation instructions ( Using pip and Source build ) are present in the previous page and you can refer them for installation.
With that , let’s write the first program
# Create a new file
$ touch hello_mujoco_py.py

# Edit the File
$ nano hello_mujoco_py.py
Inside the Python file , let us now write out code for the program.
This is the code , The Code has explanations for what they. perform.
#Import required libraries
import mujoco_py
import os

# Get the mujoco-py path and Load the XML file
mj_path, _ = mujoco_py.utils.discover_mujoco()
xml_path = os.path.join(mj_path, 'my_files', 'hello_mujoco.xml')
model = mujoco_py.load_model_from_path(xml_path)

# Setup the simulator and viewer
sim = mujoco_py.MjSim(model)
viewer = mujoco_py.MjViewer(sim)

# Infinite Loop
while True:
    # Print (x,y,z) positions and Quaternions of the system.
    print(sim.data.qpos)
    # Simulate by one step and render it on Screen.
    sim.step()
    viewer.render()
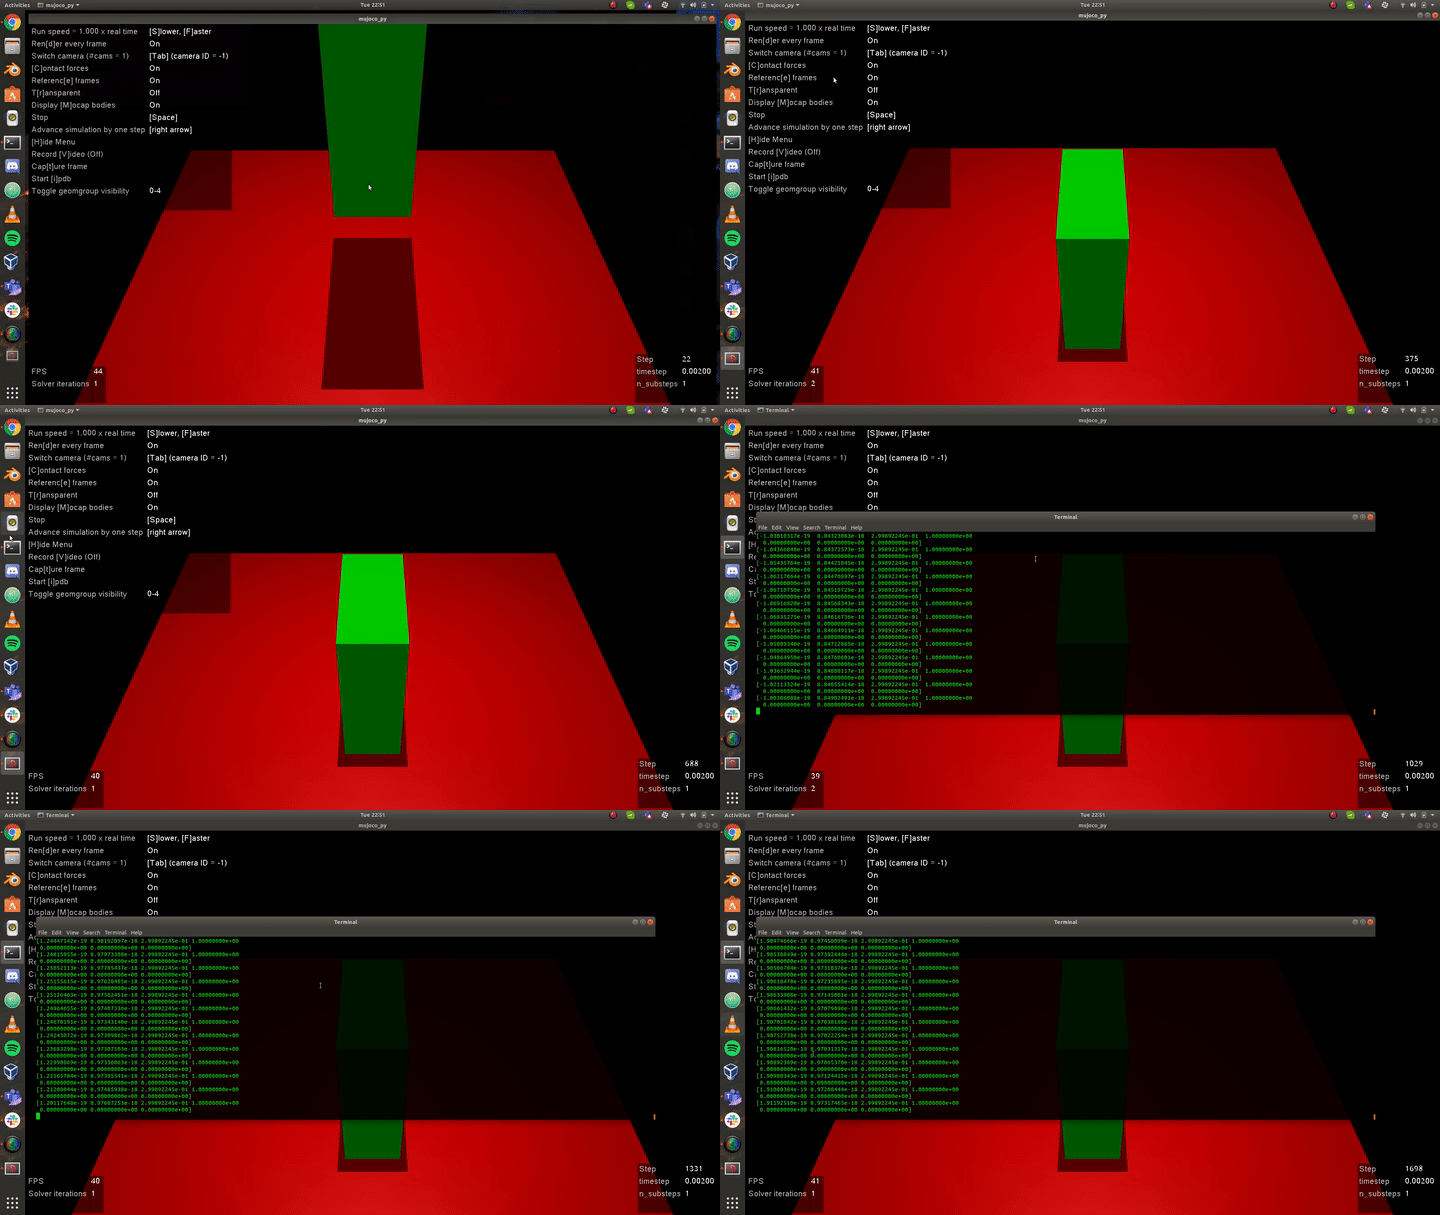
Now , if we run this , We will get a New window which will render the Simulation and the Terminal on which you execute the command will print the qpos values.
$ python3 hello_mujoco_py.py
Output Window :
Bonus :
I mentioned about Quaternions in the Code, But again when i first came across it , I did not understand what they meant or how they work , But i found this video which described quaternions very beautifully.
Quaternions and 3d rotation, explained interactively - 3Blue1Brown
But if you want the output in Euler Angles or in other 3D axis frames. You can use the script here to do so. It is part of OpenAI Environment
Enjoy Reading This Article?
Here are some more articles you might like to read next: